If you’re stepping into the $500+ tier, this is where your audio stops sounding like “starter podcast” and starts sounding like real broadcast or YouTube studio level. The goal here isn’t just a good mic — it’s a clean signal chain that removes noise, boosts clarity, and gives you consistent, professional tone no matter your room.
This setup is built around the classic dynamic mic workflow used in radio, streaming, and pro podcasting.
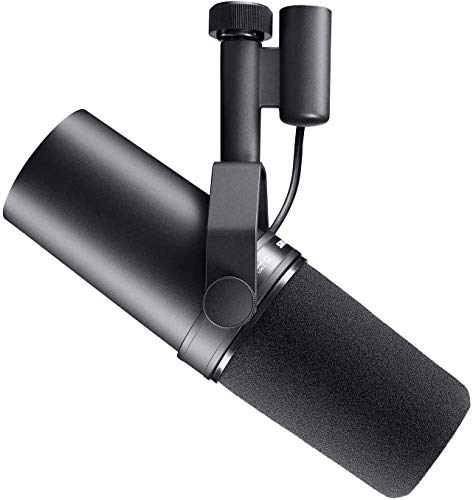
🎤 Microphone: Shure SM7B
The industry standard for podcasting and vocal recording
This is the mic you’ve heard on:
- Joe Rogan-style podcasts
- YouTube voiceovers
- Radio broadcasts
Why it’s here:
- Natural, warm vocal tone
- Excellent noise rejection (great for untreated rooms)
- Handles loud or soft voices without distortion
⚠️ Important: the SM7B is gain-hungry — meaning it needs extra amplification to shine.
⚡ Gain Booster: Klark Teknik CT1 (Inline Mic Booster)
This is the secret weapon in this setup.
Why it matters:
- Adds clean gain (+20dB boost depending on model chain)
- Lets your interface run cleaner (less noise floor)
- Helps avoid cranking cheap preamps to their limit
Think of it as:
👉 “making the SM7B easier to drive without hiss or distortion”

🎚️ Audio Interface: Audient iD Series (iD14 / iD4 MKII)
This is where your signal becomes digital studio quality.
Recommended picks:
- Audient iD4 MKII (budget-friendly, powerful preamp)
- Audient iD14 MKII (more headroom, expandability)
Why Audient wins here:
- Extremely clean preamps (great synergy with SM7B + CT1)
- Smooth gain control (no harsh noise when dialed up)
- Professional-grade conversion (your voice sounds more “expensive”)

🎧 Monitoring Headphones: Sony MDR7506
A simple but effective monitoring option.
Why include them:
- Flat-ish response for checking your voice accurately
- Lightweight and reliable
- Budget-friendly so more money goes to your mic chain

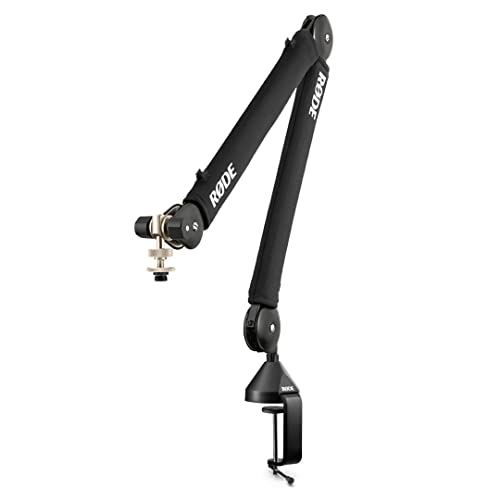
🎙️ Boom Arm (Don’t skip this)
A good mic deserves proper positioning.
Look for:
- Metal construction (no drooping mid-recording)
- Internal springs or gas arm
- Desk clamp stability
Popular option:
- Rode PSA1-style arms (or similar clones)
🔇 Essential Add-ons (small cost, big difference)
Pop Filter
Reduces harsh “P” and “B” sounds
XLR Cable (Balanced)
- Keeps signal clean from mic → interface
- Don’t cheap out here (noise issues often come from cables)
Shock Mount (optional but recommended)
- Reduces desk vibration noise
- Especially useful for typing-heavy setups
🔗 Signal Chain (How it all connects)
SM7B → CT1 Inline Booster → Audient Interface → Computer
That’s it. Simple, clean, and professional.
💡 Why this setup works so well
This combo fixes the biggest beginner podcast problems:
- ❌ Weak, quiet SM7B audio
- ❌ Background noise from bad gain staging
- ❌ Harsh, thin voice from cheap interfaces
And replaces them with:
- ✔ Warm broadcast tone
- ✔ Clean gain with no hiss
- ✔ Consistent voice levels
- ✔ Studio-level clarity in untreated rooms
💰 Final Thoughts
If your goal is to sound like you’re already “big,” this is one of the most reliable mid-tier setups you can build without jumping into $1,000+ studio gear.
The SM7B is the voice.
The CT1 is the muscle.
The Audient interface is the clarity engine.
Together, it’s a setup that doesn’t just record audio — it polishes it on the way in.